The first step of using this tool is to decide which test
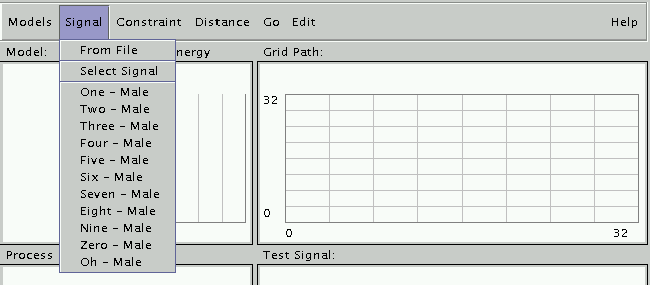
signal you want to recognize. Clicking on Signal,
and you will see that there are three ways to specify the
test signal:

From top to bottom, we have From File, Selected Signal
and a small list specifying "One -- Male", "Two -- Male", etc.
- From File choice will bring you this diagram:

If you have a signal in proper format, you can type the URL of
the file in the text field. By clicking "Submit" button, the
system will read in this file, and use it as the test signal.
Here is an example of signal for word one.
"Cancel" button will let you come back to the main screen.
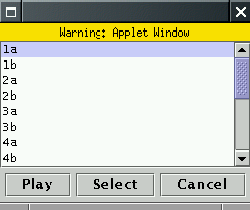
- Selected Signal choice will bring you this diagram:

You can choose a signal from the list, and click "Select" to confirm
your choice. "Play" button gives you a chance to hear it before
making a decision. Also, "Cancel" button will let you come back to
the main screen.
- Choosing from limited signal list. This is the simplest
way to specify your choice. The system has already integrated one
test signal for each word in the vocabulary, and lists the name of
them under the choice of Selected Signal. Clicking one of
them, you are bringing it to the front stage.
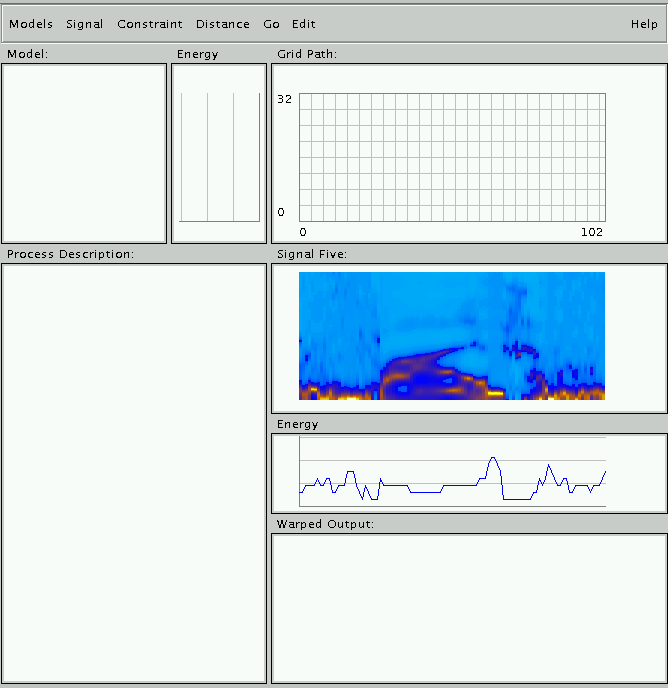
In this tutorial we will use the signal 5, so select
"Five -- Male" now. If you see this, then you did the right
thing:

The next thing you may want to do is to specify a model.
This system was built to recognize 10 digits plus the
word "Oh" for an alternative of word "zero". Models
gives you a complete list of the templates that used in
this system. Clicking on one of them will let you specify
the template that you want to use.
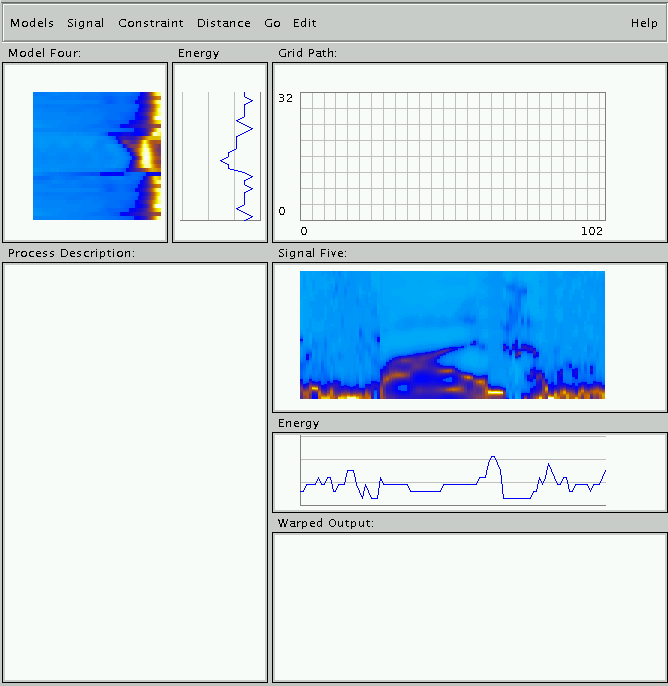
In this tutorial we will use model 4, so select "Four" from
Models now, and you should see this:


